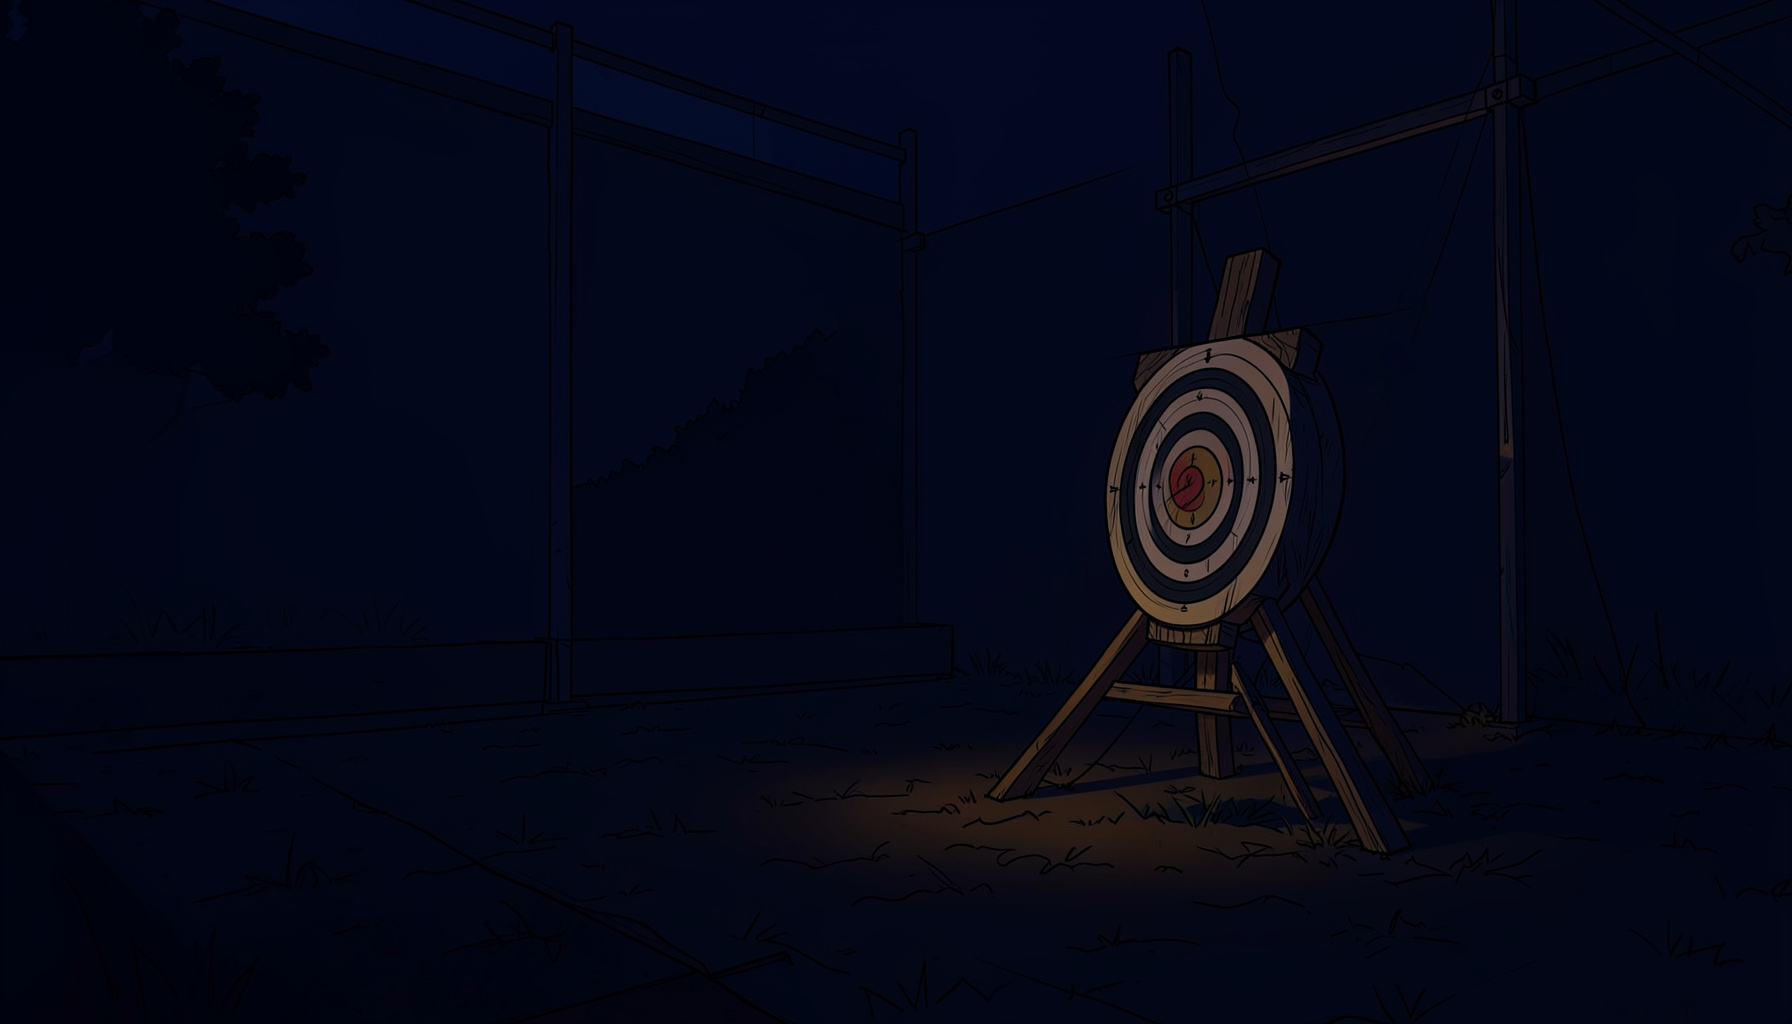
Tuning a recurve bow for predictable, repeatable performance
Every club archer eventually hits the same wall. The bow is unchanged, the arrows are the same, yet the groups wander. More often than not the answer is not a new riser or fresh limbs. It is a methodical tune-up of the recurve itself, and a well-tuned bow feels quieter on the release.
Tuning a recurve is really about making every component agree. The limbs store and release energy, the string carries it, the arrow leaves cleanly, and the archer holds it all steady. If any step is off, arrow flight bends, fishtails, or porpoises. The good news is that recurve tuning is repeatable, affordable, and learnable.
It is not a one-time event. Limbs settle, strings stretch, buttons drift, and the archer's draw length and anchor shift through the season. Treat tuning like stretching, a habit that keeps the whole system honest. The exact shape depends on whether the bow is used for target, field, or 3D work.
Out here in Australia the conditions add their own twist. Ranges sit under open skies, so clubs schedule evening sessions through summer to dodge the heat. Coastal clubs around Sydney Olympic Park or Eagle Farm in Brisbane shoot in crosswinds, making clean arrow flight more valuable.
Build a reliable baseline before you tweak anything
Before reaching for the button, confirm the basics. Brace height should sit within the recommended range, usually 200 to 220 millimetres from the pivot point. Tiller should be neutral or slightly positive on the top limb for most adult archers, and limb alignment viewed from above must be straight.
A bow square and a wall make short work of these checks. Mark the string at the natural nocking point, twist the limb pocket bolts a quarter turn at a time if anything looks off, and keep notes. A battered pocketbook works just as well as any fancy app.
Set the arrow rest and center shot squarely
The rest is where the arrow leaves the bow, so its position drives everything downstream. A target recurve uses a simple flip or magnetic rest that supports the arrow 4 to 5 millimetres off the riser. Too close and the arrow wobbles through the limb pressure; too far and it drifts sideways.
Lay the bow against a wall, plumb the riser, and slide the rest until the arrow shaft sits parallel to the string at brace height. Nock height should sit 5 to 8 millimetres above perpendicular. Mark it with a serving rather than a clamp, because clamps slide as the string moves.
Adjust the pressure button for clean arrow flight
The pressure button, sometimes called a cushion plunger, is the recurve's tuning dial. It pushes the arrow slightly into the bow's centre line at full draw, then gives just enough for clean clearance at the shot. Too stiff a spring and the arrow leaves with rightward bias for a right-hander; too soft and the arrow slaps the rest and tails left.
Start with medium tension and medium protrusion, then run a quick paper or bare shaft test. If the tear groups right of centre, soften the spring. If it groups left, stiffen it. Half-millimetre changes matter, so change one thing at a time. After a handful of shots the arrow flies straight and the bow feels smoother.
Use paper and bare shaft tests at short range
Paper tuning is the simplest diagnostic a club archer can run. Hang butcher's paper about 1.2 metres in front of the target, stand three to five metres back, and shoot a fletched arrow through it. A clean hole means the arrow flew straight; a tail to the right means the nock end swung right at the shot.
Bare shaft tuning compares an unfletched shaft to a fletched one at the same distance. If the bare shaft lands left of the fletched arrow for a right-hander, the spine is too stiff. If it lands right, the spine is too weak. Many Australian clubs run these tests midweek when the steady light helps the tear.
Refine with walk-back tuning at longer distance
Walk-back tuning takes the same idea further out. Shoot three arrows at 20 metres, mark the group, then walk back to 30, 40, and 50 metres without changing the sight. On a perfectly tuned recurve, the group drifts straight up the target face, taller but not sideways. A 6 millimetre sideways drift at 50 metres usually traces back to a small button adjustment.
For field and 3D archers this matters more. Courses around the Brisbane Ranges or Mt Macedon in Victoria throw a mix of distances and angles, and a well-tuned recurve saves a sight mark every round. Treat walk-back as a final check.
Match your arrows, draw weight, and anchor
Even a perfectly tuned bow will not shoot a mismatched arrow cleanly. Spine must match draw weight, point weight, and draw length, not the catalogue number. A practical spine selection guide explains the math, and most Australian pro shops will spine-test arrows if you bring your bow in. Anchor point must be consistent shot to shot, since any drift changes how the string leaves the fingers.
Spend a session simply shooting and checking where the string settles against nose, lips, and chin, then mark the spot with a small piece of tape on the string if needed. A repeatable anchor is the quiet partner of a tuned bow, and without it the rest of the work is wasted.
Tuning methods at a glance
| Method | Best distance | What it tells you | Tools needed |
|---|---|---|---|
| Paper tune | 3–5 m | Arrow flight direction at the shot | Paper frame, target |
| Bare shaft tune | 10–20 m | Spine and button balance | Identical arrows, fletched and bare |
| Walk-back tune | 20–50 m | Long-range drift and sight track | Open range, target face |
| French tune | 10–18 m | Fine nock height and rest height | Paper frame, target |
Tools worth adding to your tuning kit
- Bow square and a long T-square for sight and rest alignment
- A small set of Allen keys for limb, button, and rest tweaks
- Spare serving thread and a serving tool for nock point repairs
- A pocket notebook or phone app for recording measurements
Common tuning mistakes worth avoiding
- Skipping the bare shaft test because the paper tune looked clean
- Ignoring a twist in the limbs because the brace height measured right
- Cranking the button tighter instead of softening the spring tension
- Forgetting that finger tension on the string changes arrow flight too
If the weather holds this weekend, head down to your local range, hang paper at five metres, and run three fletched and three bare shafts through it. Note the tear, change one setting by half a millimetre, and repeat. Within a single arvo the arrow flight will look cleaner, the bow steadier, and the groups will start to shrink.